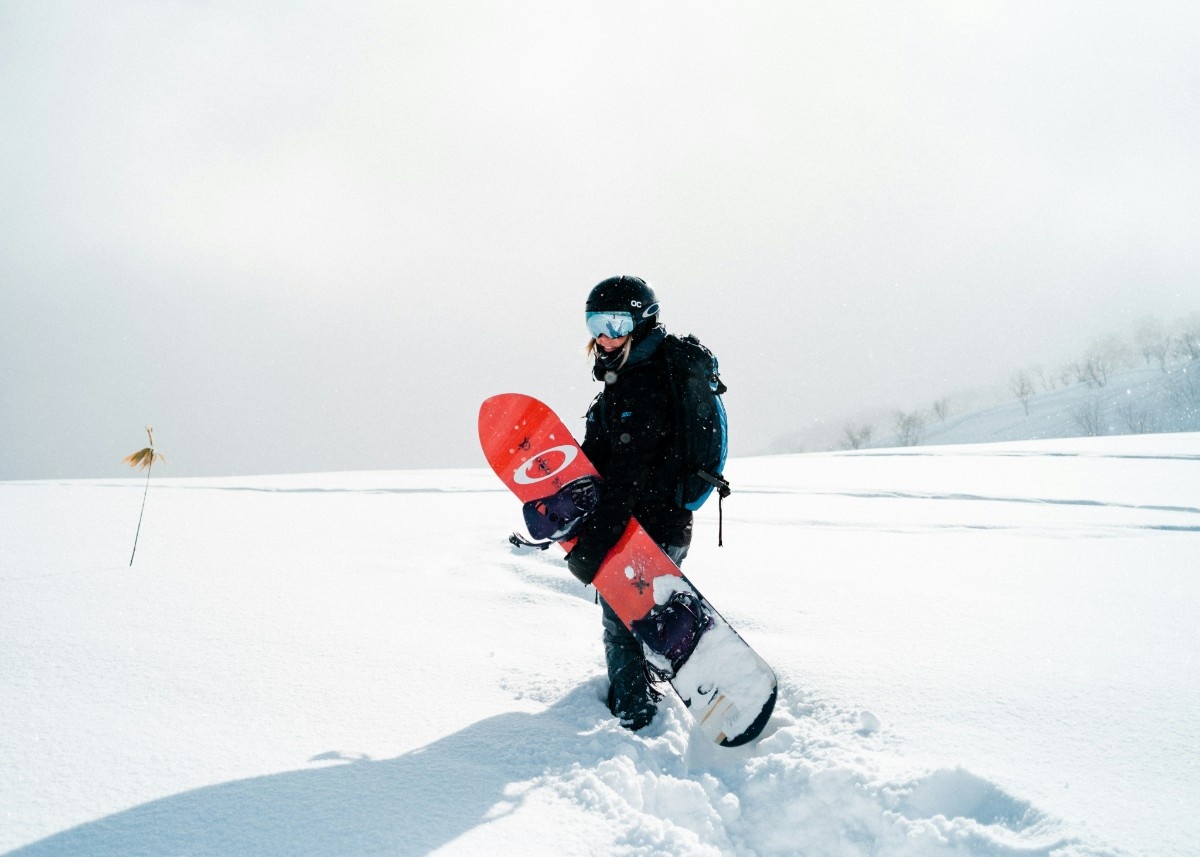
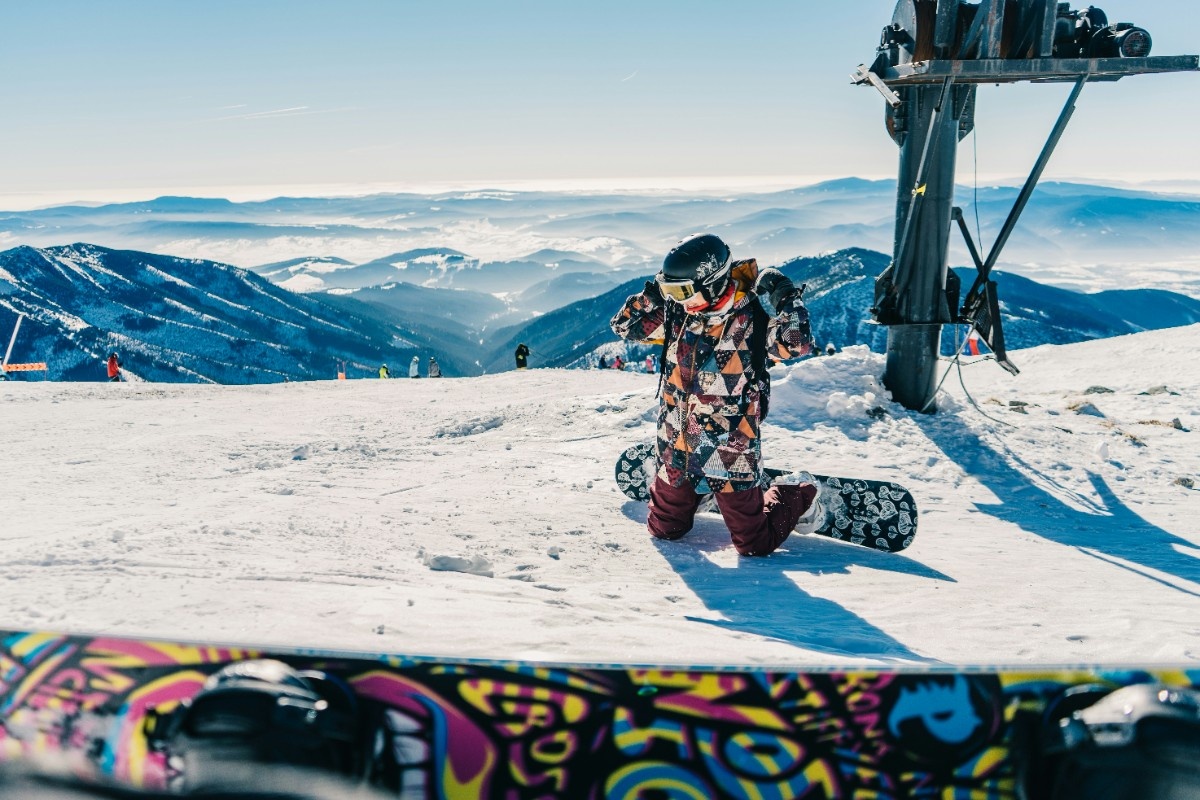
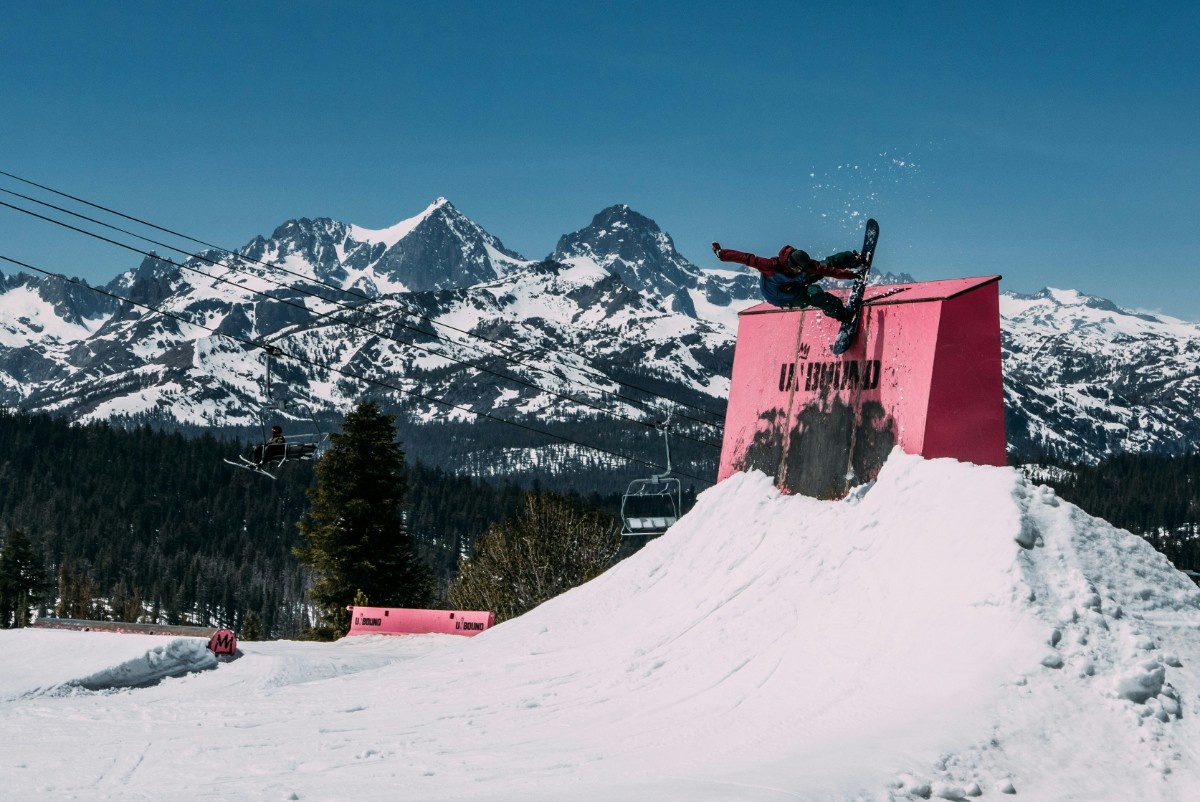
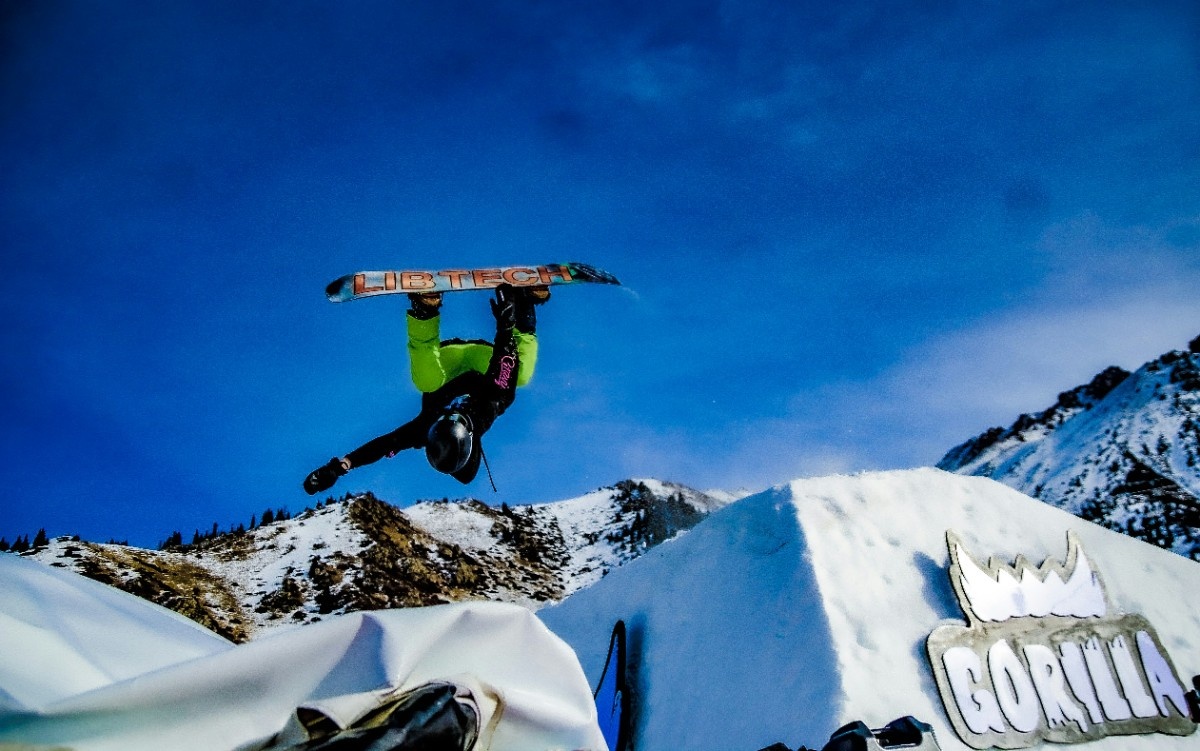
Snowboarding is an exhilarating winter sport that combines skill, balance, and a dash of adrenaline. Whether you're a complete novice or a seasoned pro, mastering the right techniques can significantly enhance your experience on the slopes. This comprehensive guide will take you through the essential snowboarding techniques for all levels, from the basics of getting started to advanced tricks and backcountry riding.
Beginner Techniques: Laying the Foundation
Embarking on your snowboarding journey can be both exciting and daunting. However, with the right approach and understanding of fundamental techniques, you'll be gliding down the slopes in no time. This section covers the essential skills every beginner snowboarder needs to master, including how to get started, basic turns, and stopping.
Getting Started: Equipment and Stance
Before you hit the slopes, it's crucial to have the right equipment and understand your stance. Your snowboard should be appropriate for your height and weight, and your boots should fit snugly without causing discomfort. When it comes to stance, there are two options: regular (left foot forward) and goofy (right foot forward). To determine your natural stance, try sliding across a smooth floor in your socks – the foot you instinctively put forward is likely your lead foot.
Once you've sorted your equipment and stance, it's time to familiarise yourself with attaching and detaching your board. Practice this on flat ground before heading to the slopes. To attach your board, sit down with the board perpendicular to the slope, place your lead foot in the front binding, and secure it. Then, stand up and slide your back foot into the rear binding, fastening it securely.
Mastering the Basic Stance
The foundation of all snowboarding techniques is the basic stance. Stand with your feet shoulder-width apart, knees slightly bent, and your weight evenly distributed between both feet. Your upper body should be relaxed but upright, with your arms at your sides. This stance provides stability and control, allowing you to react quickly to changes in terrain.
As you become more comfortable, you'll naturally adjust your stance to suit different situations. For instance, when travelling at higher speeds or tackling steeper terrain, you might lower your centre of gravity by bending your knees more deeply.
Learning to Balance and Glide
Before attempting any turns or stops, it's essential to get comfortable with balancing on your board while in motion. Find a gentle slope and practice gliding in a straight line. Keep your knees bent and your weight centred over the board. As you glide, focus on maintaining your balance and getting a feel for how the board responds to subtle shifts in your weight.
To help with balance, keep your eyes focused on where you want to go, not on your feet. Looking ahead not only improves your balance but also helps you anticipate and react to changes in the terrain.
Mastering the Falling Leaf Technique
The falling leaf technique is an excellent way for beginners to gain confidence and control on their snowboard. This technique involves traversing across the slope while alternating between your toe edge and heel edge, creating a pattern that resembles a falling leaf.
To perform the falling leaf:
- Start on your heel edge, facing across the slope.
- Gently shift your weight onto your front foot to initiate movement.
- As you begin to slide, gradually transfer your weight to your back foot to slow down or stop.
- Once comfortable, try the same on your toe edge.
Practice this technique on both edges until you can confidently control your speed and direction.
Basic Turns: Linking Your Edges
Once you've mastered the falling leaf, you're ready to learn basic turns. Turning on a snowboard involves transitioning from one edge to the other, allowing you to change direction and control your speed.
To perform a basic turn:
- Start in your basic stance, gliding straight down a gentle slope.
- To initiate a turn, gently shift your weight to your front foot and rotate your head and shoulders in the direction you want to turn.
- As your board begins to turn, gradually shift your weight to your back foot to complete the turn.
- Once the turn is complete, return to your centred stance and prepare for the next turn.
Practice linking turns in both directions, gradually increasing your speed and the steepness of the slope as you gain confidence.
Stopping Techniques: Controlling Your Speed
Knowing how to stop effectively is crucial for your safety and the safety of others on the slope. There are two primary stopping techniques for beginners: the heel edge stop and the toe edge stop.
For a heel edge stop:
- Shift your weight onto your back foot.
- Gently lift your toes to engage the heel edge of your board.
- Gradually increase the pressure on your heel edge until you come to a complete stop.
The toe edge stop follows the same principle, but you'll shift your weight onto your front foot and press down with your toes to engage the toe edge. Practice both stopping techniques until you can execute them confidently at various speeds and on different slope gradients.
Building Confidence and Progressing
As you practice these beginner techniques, you'll notice your confidence growing. Don't rush to progress – spend time mastering each skill before moving on to more advanced techniques. Remember, snowboarding is about enjoying the experience, so take your time and celebrate each small victory along the way.
Additionally, consider taking a lesson with a qualified instructor. They can provide personalised feedback and help you refine your technique, setting a solid foundation for your snowboarding journey.
Intermediate Techniques: Refining Your Skills
As you progress from a beginner to an intermediate snowboarder, you'll find yourself craving more speed, control, and versatility on the slopes. This section focuses on intermediate techniques that will help you refine your skills and take your snowboarding to the next level. We'll cover carving, jumping, and riding switch – techniques that will not only improve your performance but also add a new dimension of fun to your snowboarding experience.
Mastering the Art of Carving
Carving is a fundamental skill that separates intermediate riders from beginners. It involves making clean, precise turns by riding on the edges of your snowboard, leaving thin lines in the snow rather than skidding. Carving allows for greater speed control and smoother turns, making your ride more efficient and stylish.
To start carving:
- Begin with wider, gentle turns on a moderate slope.
- As you initiate a turn, focus on tilting your board onto its edge rather than pivoting it.
- Apply pressure through your feet to engage the edge of your board.
- Keep your body aligned with the direction of travel, with your shoulders parallel to the board.
- As you complete the turn, smoothly transition to the opposite edge to link your carves.
The key to successful carving is patience and practice. Start with longer, drawn-out carves and gradually progress to shorter, quicker turns as your confidence grows. Pay attention to your body position – your head should lead the turn, followed by your shoulders, hips, and finally, your board.
Remember, different types of terrain and snow conditions will affect your carving technique. Harder, groomed slopes are ideal for practicing carving, while softer or powdery snow may require adjustments to your technique.
Dynamic Carving: Adding Power and Speed
Once you've mastered basic carving, you can move on to dynamic carving. This technique involves using your body more actively to generate power and speed through your turns.
To execute a dynamic carve:
- Start your turn as you would in a regular carve.
- As you reach the apex of the turn, flex your legs to absorb pressure.
- At the end of the turn, explosively extend your legs to release the energy stored in your flexed position.
- This extension will propel you into the next turn with increased speed and power.
Dynamic carving requires excellent timing and body control. Practice on wide, well-groomed runs until you feel comfortable with the technique before applying it to steeper or more challenging terrain.
Introducing Jumps and Airtime
Jumping is an exciting skill that adds a new dimension to your snowboarding. While it may seem daunting at first, starting with small jumps and gradually progressing will help build your confidence and technique.
Before attempting any jumps, ensure you're comfortable with higher speeds and have good control of your board. Start with small natural features on the slope, such as rollers or small mounds, before progressing to purpose-built jumps in the terrain park.
The basic stages of a jump are:
- Approach: Maintain a stable, slightly crouched position as you approach the jump.
- Take-off: As you reach the lip of the jump, extend your legs to pop off the snow.
- Airtime: Keep your body compact and your board flat in the air.
- Landing: Spot your landing, bend your knees to absorb the impact, and ride away smoothly.
When you're first learning to jump, focus on small, straight air jumps. As you gain confidence, you can start to add grabs (holding the edge of your board while in the air) or simple rotations.
Perfecting Your Jumping Technique
To improve your jumping skills:
- Practice your timing: The key to a good jump is popping off the lip at the right moment. Too early, and you'll lose height; too late, and you might catch the lip.
- Control your speed: Approach jumps with the right amount of speed – enough to clear the jump, but not so much that you overshoot the landing.
- Stay balanced in the air: Keep your shoulders aligned with your board and resist the urge to lean back.
- Look ahead: Always look towards your landing, not down at your board.
- Flex on landing: Bend your knees and ankles to absorb the impact of landing.
Remember, progression in jumping should be gradual. Master smaller jumps before moving on to larger ones, and always respect your limits and the terrain park rules.
Riding Switch: Expanding Your Versatility
Riding switch means snowboarding with your non-dominant foot forward. While it may feel awkward at first, mastering switch riding greatly enhances your overall snowboarding ability and opens up new possibilities for tricks and terrain navigation.
To start riding switch:
- Begin on a gentle slope and adopt your basic stance, but with your feet reversed.
- Practice the falling leaf technique in both directions to get comfortable with the new stance.
- Once you're confident with basic control, start linking turns just as you did when learning to ride in your regular stance.
- Gradually increase your speed and the difficulty of the terrain as your skills improve.
The key to successful switch riding is patience and persistence. It's essentially like learning to snowboard all over again, so don't get discouraged if it feels challenging at first. Regular practice will help you develop muscle memory and improve your overall board control.
Advanced Switch Riding Techniques
As your switch riding improves, you can start to incorporate more advanced techniques:
- Carving switch: Apply the same carving principles you use in your regular stance.
- Switch ollies and nollies: Practice small jumps and pops while riding switch.
- Switch riding in varied terrain: Challenge yourself to ride switch in different snow conditions and on various slope gradients.
Incorporating switch riding into your regular runs will help you progress faster. Try alternating between regular and switch stance every few turns or dedicating entire runs to switch riding.
Linking Your New Skills
As you become more proficient in carving, jumping, and riding switch, start to think about how you can combine these skills. For example, you might carve into a jump, perform a simple grab or rotation, and land switch. Or you could practice transitioning from regular to switch stance mid-run using small jumps or side hits.
Remember, the key to progressing as an intermediate snowboarder is consistent practice and gradually pushing your boundaries. Always ride within your ability level and wear appropriate safety gear, especially when attempting jumps or riding at higher speeds.
By mastering these intermediate techniques, you'll not only become a more skilled and versatile snowboarder, but you'll also open up new ways to enjoy the mountain. Whether you're carving up groomers, hitting jumps in the park, or exploring new terrain switch, these skills will enhance your snowboarding experience and prepare you for more advanced techniques.
Advanced Techniques: Pushing the Boundaries
As you progress to an advanced level in snowboarding, you'll find yourself seeking new challenges and ways to express your creativity on the mountain. This section delves into advanced techniques that will push your skills to the limit, including complex tricks, backcountry riding, and powder techniques. These skills require a solid foundation in the basics and intermediate techniques, as well as a good understanding of mountain safety and snow conditions.
Mastering Advanced Tricks
Advanced tricks combine elements of carving, jumping, and aerial manoeuvres to create spectacular displays of skill and style. While the possibilities for tricks are virtually endless, we'll cover some fundamental advanced tricks that form the basis for many complex manoeuvres.
Spins and Rotations
Spins involve rotating your body and board in the air. They are classified by the number of degrees you rotate: 180, 360, 540, and so on. To perform a spin:
Approach the jump with good speed and a slight edge angle.
- As you reach the lip, initiate the spin by turning your head and shoulders in the direction of rotation.
- Tuck your knees up towards your chest to increase your rotation speed.
- Spot your landing as you complete the rotation.
- Extend your legs to absorb the landing impact.
Practice spins in both directions (frontside and backside) and off different features like jumps, halfpipes, and natural terrain.
Flips and Inverted Tricks
Flips and inverted tricks involve going upside down in the air. These tricks are advanced and should only be attempted with proper training and safety measures in place. Some common flips include:
- Backflip: Rotating backwards over your head.
- Frontflip: Rotating forwards over your head.
- Rodeo: A hybrid trick combining a backflip with a 180-degree spin.
When learning flips, start with trampoline training or foam pit practice before taking them to the snow. Always ensure you have enough air time and a steep enough landing to complete the rotation safely.
Grabs and Tweaks
Grabs involve reaching down and grabbing your board while in the air. They add style to your tricks and can help control your rotation. Some popular grabs include:
- Indy: Grabbing the toe edge between your feet with your back hand.
- Mute: Grabbing the toe edge between your feet with your front hand.
- Method: Grabbing the heel edge with your back hand and bending your knees to bring the board up behind you.
Tweaks are variations on grabs where you adjust the position of your board or body in the air. For example, a "Japan Air" involves grabbing the toe edge of your board with your front hand while extending your back leg.
Freestyle: Park and Pipe Riding
Freestyle snowboarding in terrain parks and halfpipes allows you to showcase your trick repertoire in a controlled environment. Here are some tips for advancing your park and pipe skills:
- Start small: Begin with smaller features and gradually work your way up to larger jumps and more complex obstacles.
- Learn the park etiquette: Understand and follow the rules of the park, including waiting your turn and calling your drops.
- Practice line selection: Plan your route through the park, linking different features together.
- Master the halfpipe: Learn to pump the transitions to maintain speed, and practice airing out of the pipe before attempting tricks.
- Develop your own style: While it's great to learn established tricks, don't be afraid to experiment and develop your unique style.
Backcountry Riding: Exploring Beyond the Boundaries
Backcountry snowboarding offers unparalleled freedom and access to pristine powder, but it also comes with increased risks and responsibilities. Before venturing into the backcountry:
- Get proper avalanche training and carry essential safety gear (beacon, shovel, probe).
- Always ride with a partner and inform others of your plans.
- Check local avalanche forecasts and weather conditions.
- Understand the terrain and potential hazards like cliffs, tree wells, and crevasses.
Backcountry Specific Techniques
Riding in the backcountry often involves different techniques than resort riding:
- Powder turns: Keep your weight centred or slightly back on the board, and make wider, more sweeping turns to maintain float.
- Route finding: Learn to read the terrain and choose the safest and most enjoyable line down the mountain.
- Hiking and skinning: Many backcountry areas require hiking or using splitboards with climbing skins to access. Practice efficient uphill travel techniques.
- Jump building: Learn to construct safe and fun jumps in the backcountry using natural features and snow conditions.
Powder Techniques: Dancing with the Snow
Riding in deep powder is often described as the ultimate snowboarding experience. It requires a different approach to technique and equipment. Here are some key powder riding techniques:
Maintaining Float
In powder, the goal is to stay on top of the snow rather than cutting through it. To achieve this:
- Use a wider, more directional board designed for powder riding.
- Keep your weight centred or slightly back on the board.
- Make wider, more gradual turns to maintain speed and float.
- Use subtle shifts in weight and edge angle to steer, rather than forceful movements.
Powder-Specific Tricks
Deep snow allows for unique tricks that aren't possible on groomed runs:
- Powder slashes: Use the face of a small hill or roll to throw up a wall of snow.
- Pillow lines: Navigate a series of snow-covered rocks or stumps, using each as a natural jump.
- Tree runs: Weave through tight trees, combining quick turns with small drops and natural features.
Dealing with Flat Sections
Maintaining speed in powder, especially in flat areas, can be challenging. Techniques to keep moving include:
- Powder hopping: Small hops to maintain momentum in very deep snow.
- S-turns: Making gentle S-shaped turns to cover more distance without losing speed.
- Keeping your base flat: In very shallow powder, keeping your board flat can help you glide over the snow more easily.
Freeride Techniques: Combining All Elements
Freeriding is the pinnacle of snowboarding, combining elements of freestyle, backcountry, and powder riding into a fluid, creative expression on natural terrain. Advanced freeride techniques include:
- Natural feature hits: Using the natural contours of the mountain to launch tricks, rather than man-made jumps.
- Variable condition riding: Seamlessly transitioning between different snow conditions and terrains within a single run.
- Big mountain lines: Planning and executing challenging routes down steep, complex terrain.
- Exposure management: Safely navigating terrain with high consequences, such as narrow chutes or runs above cliffs.
Mental Preparation and Risk Management
At the advanced level, the mental aspect of snowboarding becomes increasingly important. Techniques for mental preparation include:
- Visualisation: Mentally rehearsing tricks or lines before attempting them.
- Breath control: Using breathing techniques to manage fear and maintain focus.
- Progressive goal setting: Breaking down larger objectives into smaller, achievable steps.
Risk management is crucial for advanced riders pushing their limits:
- Know your limits: Understand and respect your current skill level.
- Check conditions: Always assess snow conditions, weather, and potential hazards before attempting challenging terrain or tricks.
- Use proper safety gear: Wear a helmet, and consider additional protection like back protectors and impact shorts for park riding.
- Train safely: Use airbags, foam pits, or other safety measures when learning new aerial tricks.
Continuous Improvement: Never Stop Learning
Even at an advanced level, there's always room for improvement. Ways to continue progressing include:
- Cross-training: Engage in off-snow activities that complement snowboarding, such as skateboarding, surfing, or gymnastics.
- Video analysis: Record and review your riding to identify areas for improvement.
- Attend advanced clinics or camps: Learn from professional instructors and riders to refine your technique and learn new skills.
- Compete: Participating in competitions can push your skills and introduce you to new techniques and styles.
Equipment Considerations for Different Skill Levels
As you progress through different skill levels in snowboarding, your equipment needs will evolve. This section explores how to choose and maintain the right gear for your riding style and ability, ensuring you have the best possible experience on the slopes.
Beginner Equipment: Focusing on Stability and Forgiveness
When you're just starting out, your primary concerns should be comfort, stability, and ease of use. Here's what to look for in beginner equipment:
Snowboards for Beginners
- Length: A shorter board (reaching between your chin and nose when standing) is easier to control.
- Width: Ensure the board is wide enough that your boots don't overhang too much, causing toe or heel drag.
- Flex: A softer flex is more forgiving and easier to manoeuvre.
- Shape: Look for a board with a directional twin shape, which performs well riding forward but can also handle switch riding as you progress.
Bindings for Beginners
- Flex: Choose softer, more flexible bindings that allow for easier turns and more comfort.
- Strap System: Traditional two-strap systems are usually easiest for beginners to adjust and use.
- Compatibility: Ensure the bindings are compatible with your board's mounting system and your boot size.
Boots for Beginners
- Fit: Boots should fit snugly but not painfully tight. Your toes should just brush the end when standing upright.
- Flex: Softer flex boots are more comfortable and forgiving for beginners.
- Lacing System: Traditional laces or BOA systems are both good options; choose based on personal preference.
Intermediate Equipment: Balancing Versatility and Performance
As an intermediate rider, you'll want gear that can keep up with your improving skills and allow you to explore different riding styles.
Snowboards for Intermediates
- Length: You can move to a slightly longer board for more stability at higher speeds.
- Profile: Consider a hybrid camber-rocker profile for versatility across different terrains.
- Flex: A medium flex offers a good balance of control and playfulness.
- Shape: True twin shapes are great for riders looking to progress in the park and riding switch.
Bindings for Intermediates
- Flex: Medium flex bindings offer a good balance of support and manoeuvrability.
- Highback: Adjustable highbacks allow you to fine-tune your setup for different riding styles.
- Straps: Look for bindings with comfortable, supportive straps that respond quickly to your movements.
Boots for Intermediates
- Flex: Medium flex boots provide a good balance of support and mobility.
- Fit: As your riding improves, a more precise fit becomes important. Consider heat-mouldable liners for a custom fit.
- Support: Look for boots with good ankle support to help with edge control.
Advanced Equipment: Specialising for Performance
Advanced riders often have multiple boards for different conditions and riding styles. Your choices will depend on whether you're focusing on freestyle, freeride, or all-mountain riding.
Snowboards for Advanced Riders
- Freestyle Boards: Shorter, true twin shapes with medium-soft flex for maximum manoeuvrability in the park.
- Freeride Boards: Longer, stiffer boards with a directional shape for stability at high speeds and in varied terrain.
- Powder Boards: Wide, directional boards with a significant setback stance for maximum float in deep snow.
- All-Mountain Boards: Versatile boards that perform well in various conditions, often with a directional twin shape and medium-stiff flex.
Bindings for Advanced Riders
- Flex: Choose based on your riding style - stiffer for freeride, softer for freestyle, medium for all-mountain.
- Response: Look for bindings that offer quick edge-to-edge response for precise control.
- Customisation: Advanced bindings often offer extensive adjustability to dial in your perfect setup.
Boots for Advanced Riders
- Flex: Match your boot flex to your riding style and board choice.
- Fit: A precise fit is crucial. Many advanced riders opt for custom boot fitting.
- Features: Look for boots with advanced features like heat-mouldable liners, BOA systems for zonal tightening, and good shock absorption.
Maintaining Your Equipment
Proper maintenance of your snowboarding equipment is crucial for performance and longevity:
- Waxing: Regularly wax your board to maintain speed and protect the base. The frequency depends on how often you ride and the snow conditions.
- Edge Tuning: Keep your edges sharp for optimal control, especially for carving and riding in icy conditions.
- Board Repairs: Address any core shots or major scratches promptly to prevent water damage to the board's core.
- Boot Care: Dry your boots thoroughly after each use and replace worn-out liners or footbeds as needed.
- Binding Maintenance: Regularly check and tighten all screws, and replace any worn straps or buckles.
Adapting Your Setup
As you progress and try different riding styles, don't be afraid to experiment with your setup:
- Stance Width and Angles: Adjusting your stance can significantly affect your riding. A wider stance offers stability, while angles can be tweaked for different styles (e.g., more angled for freestyle, more parallel for freeride).
- Binding Adjustments: Fine-tune forward lean, highback rotation, and strap position to optimise your setup.
- Board Setback: For powder days, setting your bindings back can increase float without needing a dedicated powder board.
Remember, while having the right equipment is important, it's your skill and technique that matter most. The best gear won't make you a great snowboarder, but it can certainly help you perform at your best and enjoy your time on the mountain more fully.
Snowboarding is more than just a sport; it's a journey of continuous learning, personal growth, and exhilarating experiences. From your first tentative slides down a gentle slope to carving up backcountry powder, each stage of your snowboarding progression brings new challenges and rewards.
As a beginner, focus on mastering the fundamentals. Take the time to develop a solid stance, learn to link your turns, and build confidence in your ability to control your speed and direction. Remember that everyone starts as a beginner, and progress comes with practice and persistence.
As you move into the intermediate stage, you'll find yourself pushing your boundaries and expanding your skillset. Embrace the challenge of learning to carve, hit small jumps, and ride switch. These skills not only make you a more versatile rider but also open up new ways to enjoy the mountain.
Advanced riders have the thrill of pushing the limits of what's possible on a snowboard. Whether you're perfecting complex tricks in the park, exploring remote backcountry terrain, or charging down steep, challenging runs, remember to always prioritise safety and continue to refine your technique.
No matter your skill level, there's always more to learn in snowboarding. The sport is constantly evolving, with new techniques, equipment, and riding styles emerging. Stay curious, be open to learning from others, and never lose the sense of joy and freedom that drew you to snowboarding in the first place.
Ultimately, snowboarding is about having fun and connecting with the mountain environment. Whether you're riding with friends, enjoying a solitary run through silent, snow-covered trees, or pushing yourself to land a new trick, snowboarding offers countless moments of challenge, achievement, and pure joy.
So wax your board, buckle your boots, and head for the slopes. The mountain is calling, and your next snowboarding adventure awaits!
Related Articles

Let us know you agree to cookies
We use marketing, analytical and functional cookies as well as similar technologies to give you the best experience. Third parties, including social media platforms, often place tracking cookies on our site to show you personalised adverts outside of our website.
We store your cookie preferences for two years and you can edit your preferences via ‘manage cookies’ or through the cookie policy at the bottom of every page. For more information, please see our cookie policy.
